Building My Dream Arcade Cabinet

The Spark of Nostalgia
I grew up when home consoles were already a thing, but arcades were always close to my heart for some reason.
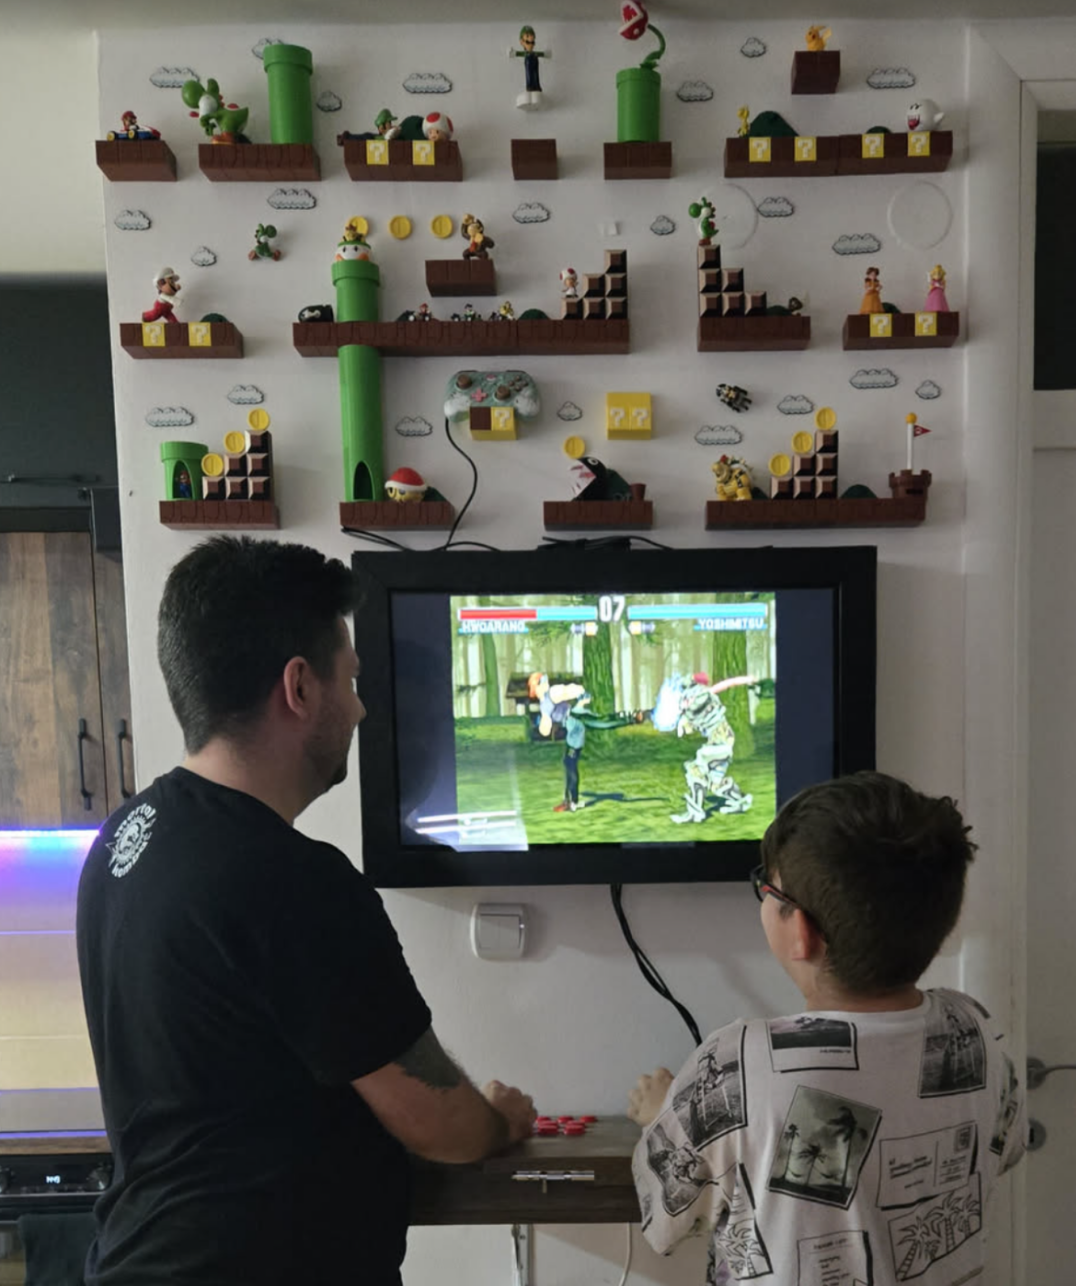
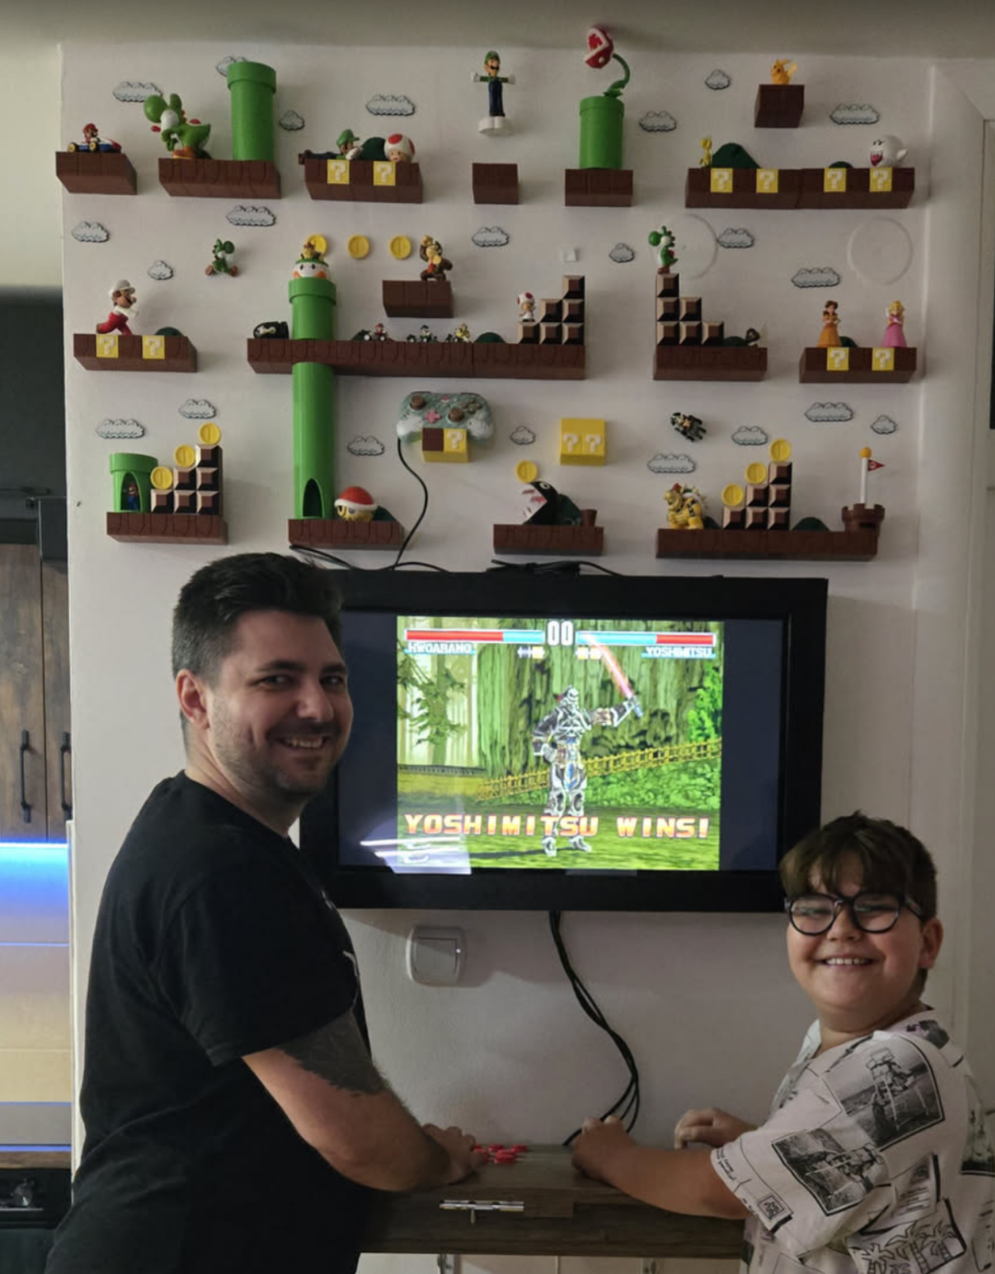
When we were on family vacations with my parents there were always corners with at least one arcade, pinball machine or something. There was one in Budva that got engraved as a core memory for me - Tekken 3. I remember my dad being in disbelief that out of all the things there to do I would just toss in coins to play that game. Those button-mashing memories have a special place in my heart.. Recently, I decided to bring that magic into my home by building my own arcade cabinet.
The Blueprint
So, with the approval of my wife to “decorate” our living room with an arcade, I start to draw and look for ideas.
- Design considerations
- Needs to be compact
- Need to repurpose my HomeAssistant Dashboard screen but still keep the functionality
- Need to run multiple game systems
- Space requirements
- I definitely didn't have room for a full-blown cabinet
- It needs to be wall-mounted
- Can't be in the way when walking through the living room
- Possibly foldable somehow
- Budget planning
- While I didn't have a specific budget for it, I wanted to keep it simple and not hurt my wallet too much.
- Inspiration sources:
- Tekken Arcade - exactly how I remember it from Budva
- 2-player Arcade Controller - A classic two-player arcade fight stick
- Alexandre Chappel's hidden arcade cabinet - I found this to be a perfect solution for what I was looking for but ultimately since I still want to use the screen as a HomeAssistant dashboard, I opted for designing something on my own that would fit the need but still be as compact as this design
The Build Process
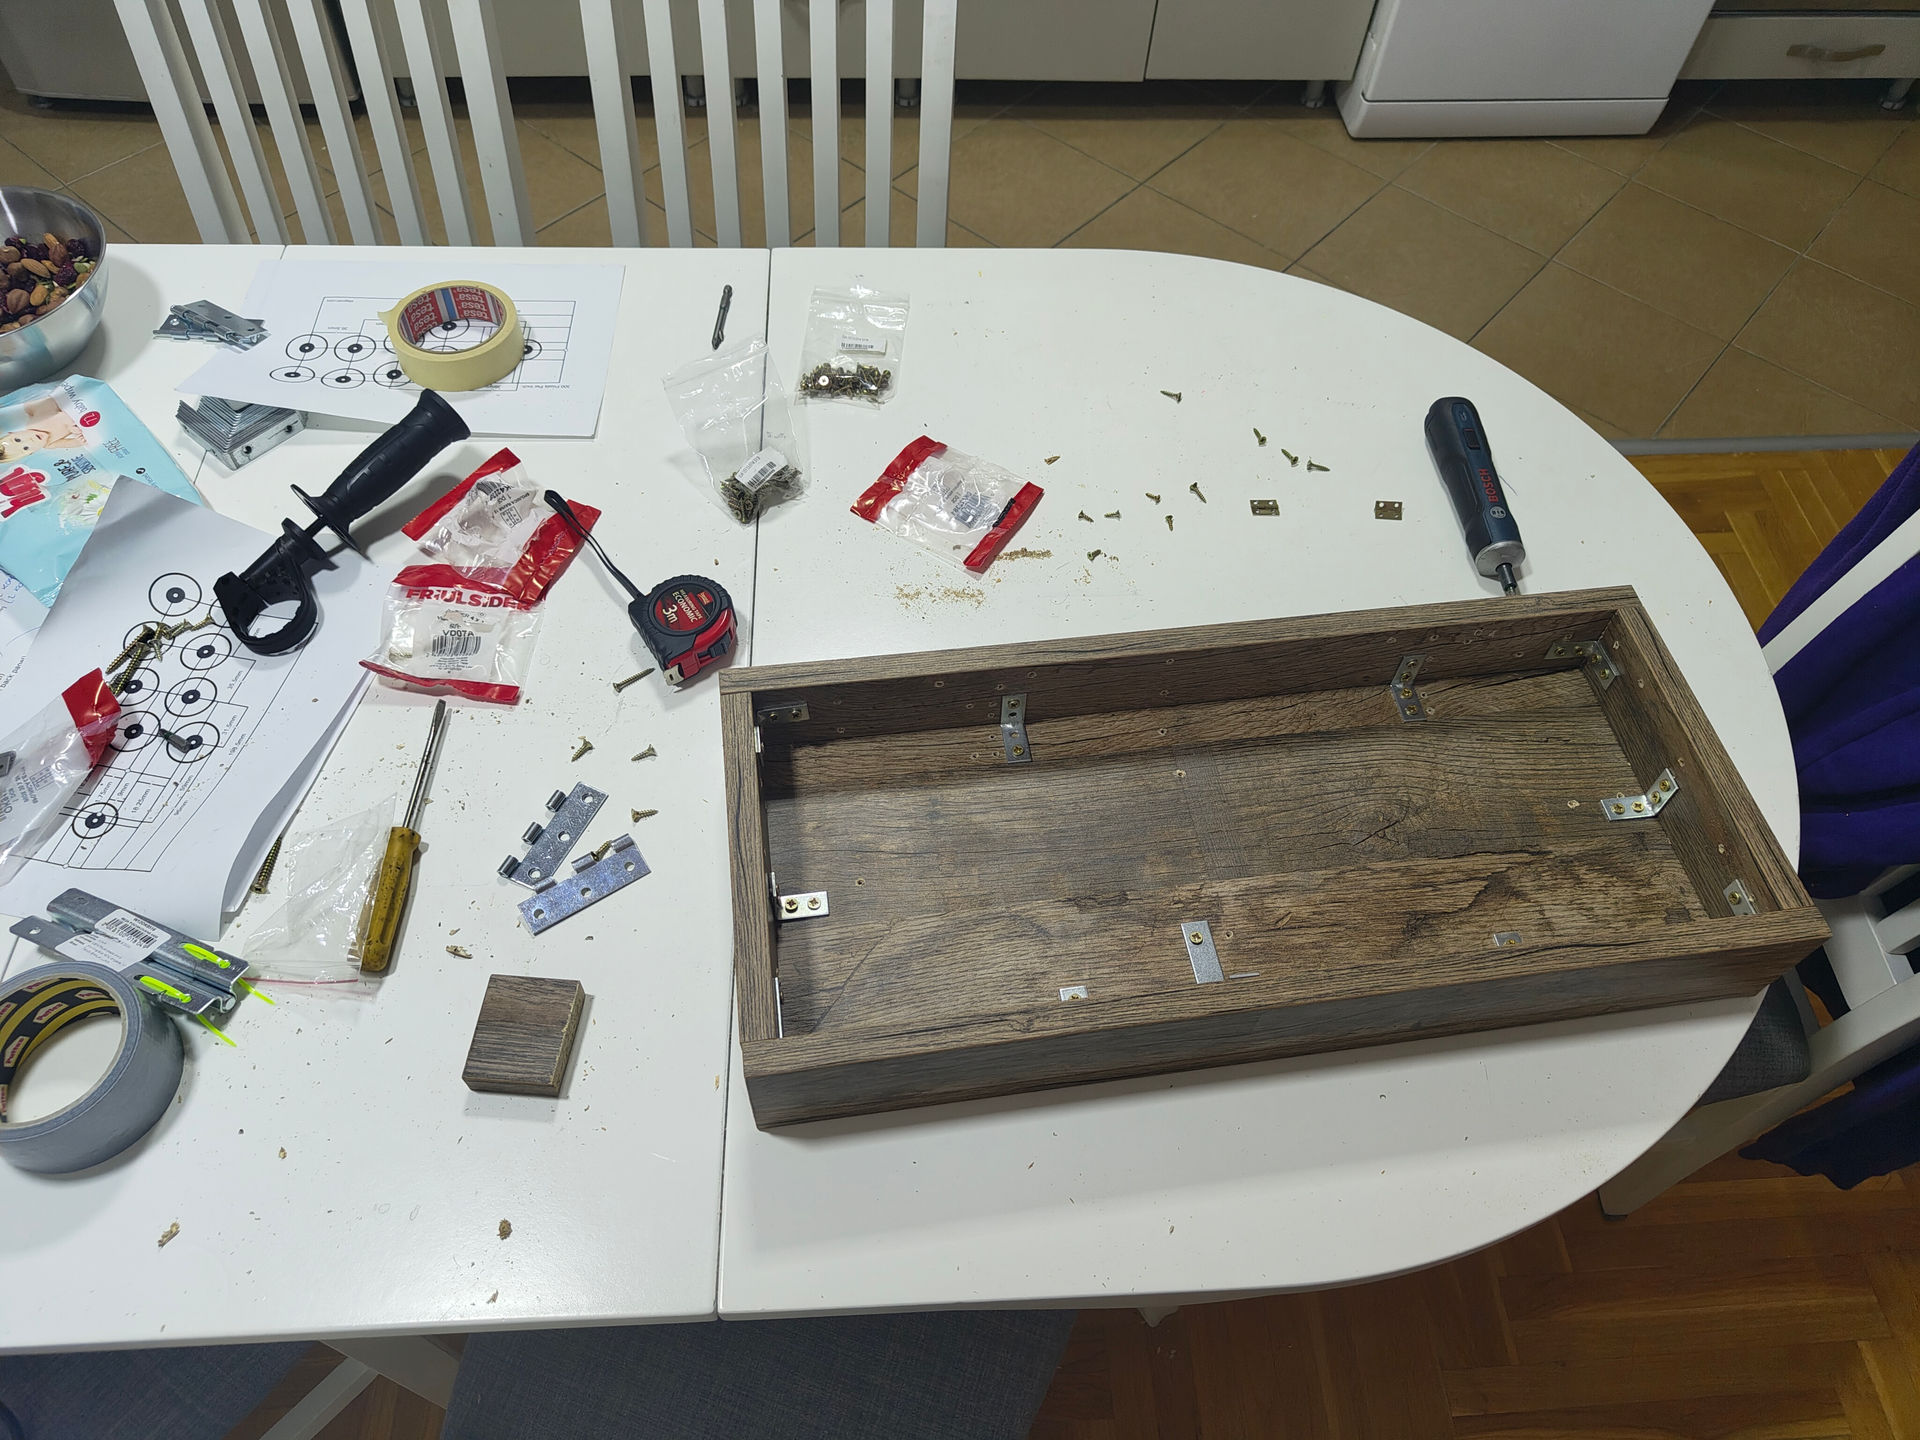
Phase 1: The Cabinet Structure
If you're a carpenter or at least have a basic idea how to work with wood (unlike me) I apologize in advance for the graphic content you're about to see.
- Materials used:
- 1400x2070mm (half a board) Egger plywood with edge banding
- 4 boards of thin plywood for screen frame
- Clamping mending plates
- Folding shelf brackets for mounting the controller board
- Wood screws
- Wood Glue
- Decorative wood tape
- Cutting and assembly process: All of the wood cutting edge banding was done proffesionally at my local hardware store Centrum.
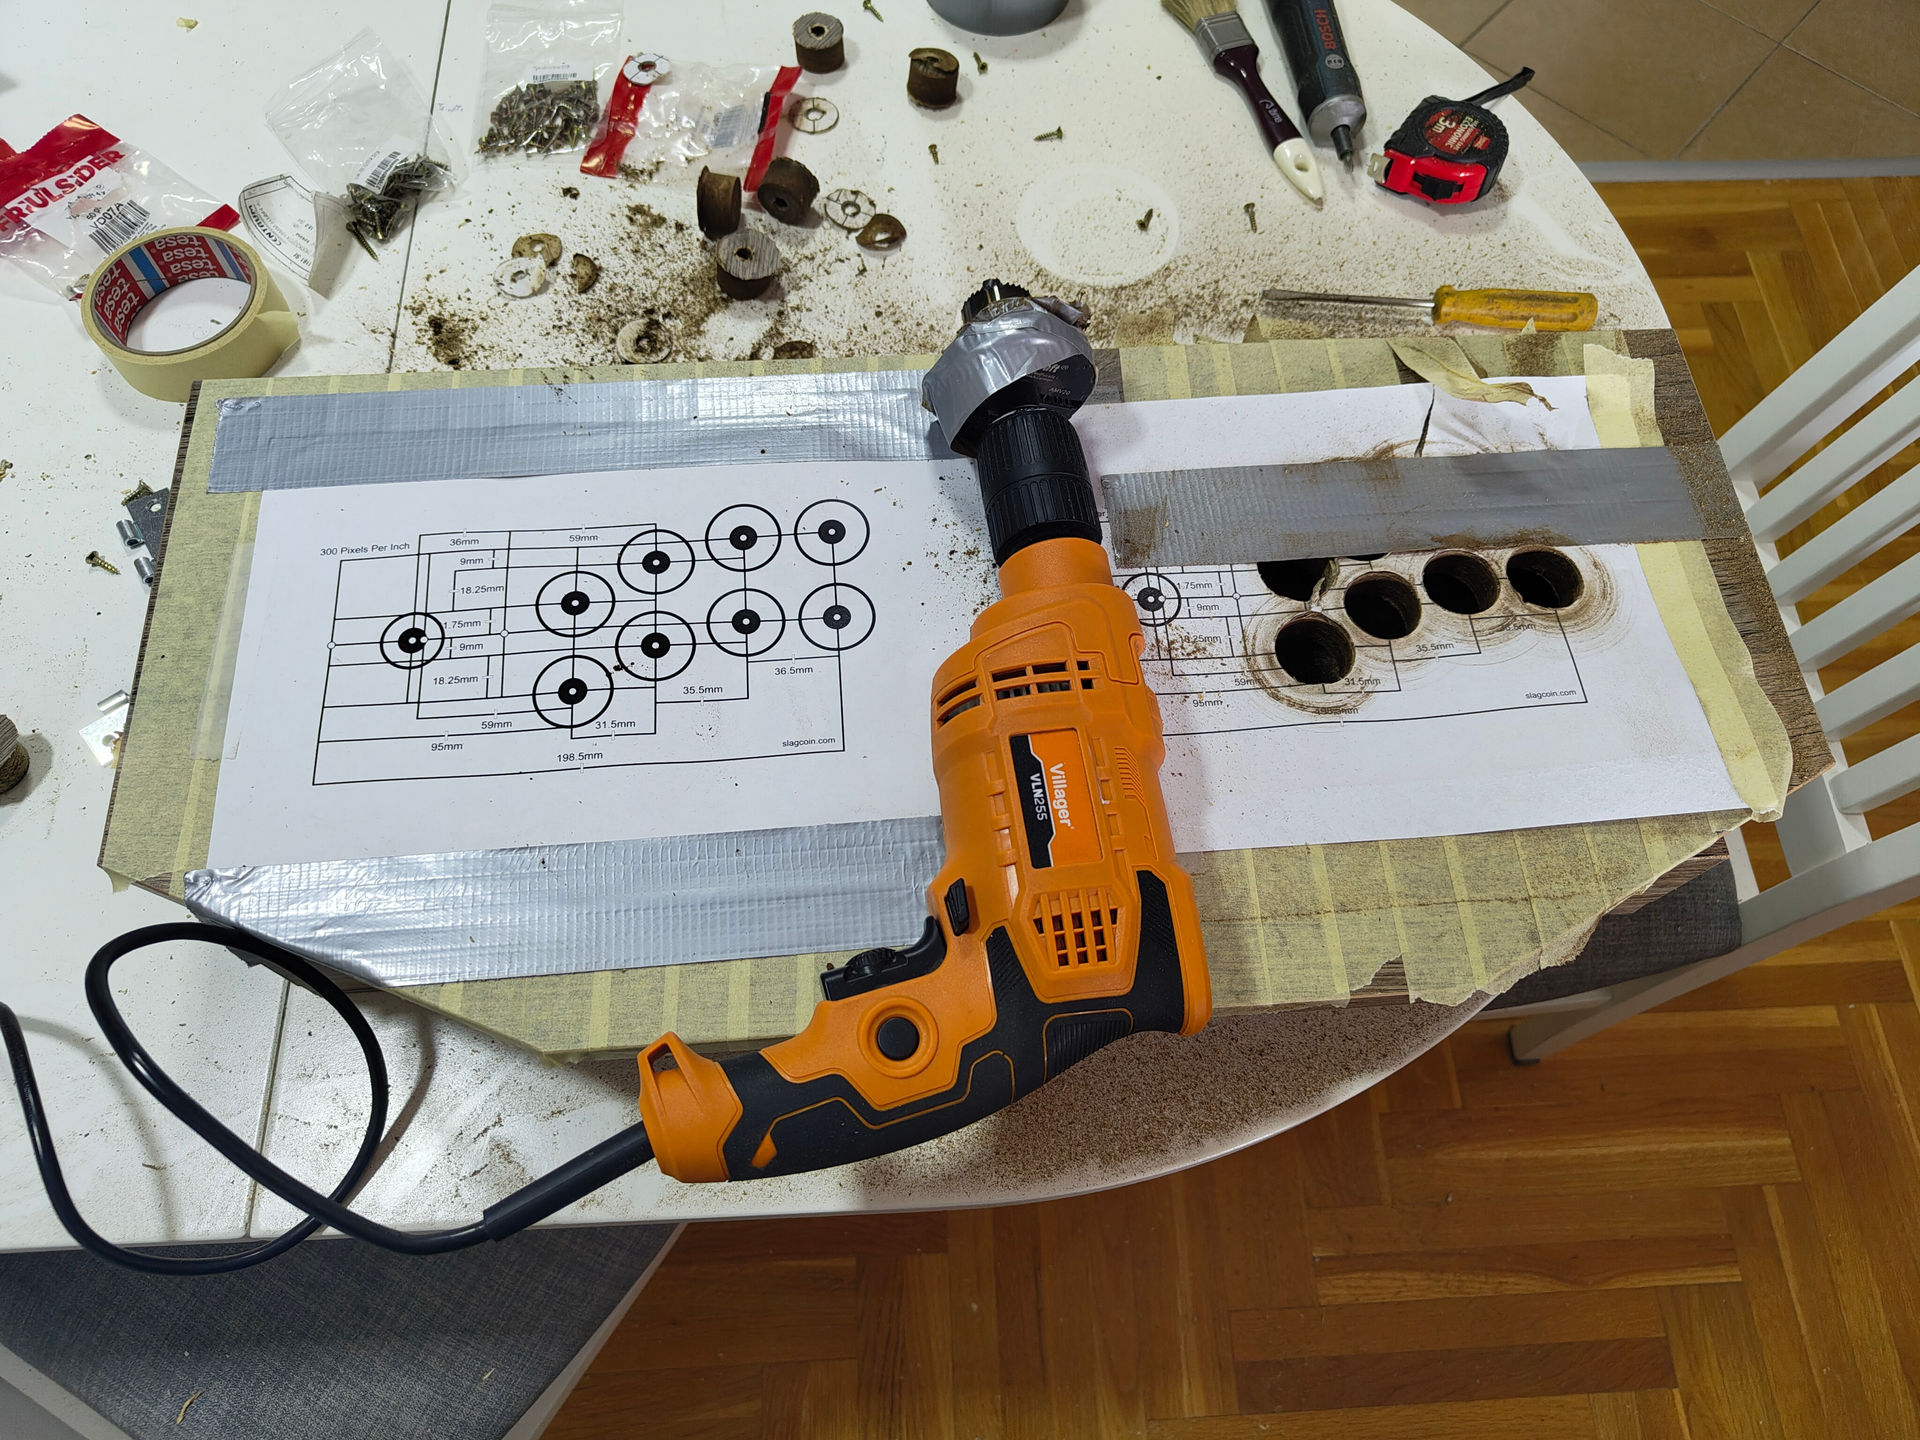
- Challenges faced:
- With some hours spent into planning I figured I covered all aspects, but naturally I suck at this so I had to make some slight adjustments to the wood by hard. Luckily I planned for my stupidity and cut some extra boards just in case.
- Making everything fit perfectly was next to impossible - but even so it turned out better than I hoped for.
Safe to say we're not having dinner at the table tonight lol
First milestone reached! I can now go to sleep and hate myself in the morning for staying up late configuring everything.
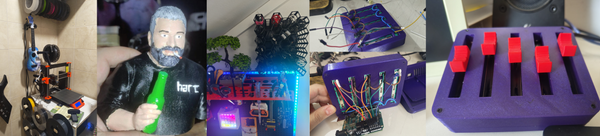
Phase 2: Electronics and Hardware
- Raspberry Pi 5 - 8GB RAM, 64GB SD, active cooling, charger.
- Controls setup - I went with a knockoff Sanwa brand from AliExpress as it's good enough and I get everything I need in one package. They are really good for the price and I have no complaints. They get detected as Dragonrise controllers in RetroPie.
- Display: P2714T 27-inch Dell 1080p with touchscreen, as I want to keep using it for HA dashboards.
- Power: Just a simple power strip, though I would probably need to replace with a better one with a power surge protector.
- Audio system: Old USB powered Genius speakers that I didn't use anymore, simple and easy to mount inside the display panel.
- Cabling: Tape cable ties ftw! Everything fits nice within the controller with a little breathing room.

Phase 3: Software Setup
- Operating system choice: I was sure I was going with RetroPie, but there wasn't an official release for the RPI 5. After googling a bit I found some guides on how to compile RetroPie on RPI 5 and everything ran smoothly from there.
- Emulator configuration: There were some tweaks I wanted to do, like the joystick selection order, game metadata, video playback on game select and screensaver random videos of gameplay from the library.
- Game library setup: I picked a few systems I loved playing as a kid - NES, SNES, N64, Sega systems, NDS, PS1, PSP.
- If Nintendo laywers are reading this - yes I backed these games off of my orignal copies :^)
- Frontend customization: The Carbon theme was probably good enough, but I switch between Carbon and Space Oddity which is pretty awesome too.
- Games storage: I initially planned to use my UNRAID server to run games directly on the network, but the performance wasn't really that good via RPI WiFi, so I switched to a USB NVMe case with a 512GB NVMe. This dramatically increased performance in the EmulationStation menu, playing videos and booting up games.
- Save sync: I already had some saves from RetroArch from playing SM64 and DK64 so I wanted to sync the saves between all my devices. The logical choice was SyncThing as I already use it for personal/work stuff. It was able to run smoothly on my phone, SteamDeck, RPI and even my Anbernic RG353v with ArkOS. And everything syncs up with my UNRAID so each device can pull the saves without the other being online. Now I just boot up wherever and it picks up where I left off on my last device used.
Phase 4: Customization
Now it was time to make it nice and pretty with a couple of requirements:
- Make it thematic to classic games.
- Re-use some of my old controllers for n64 and ps1 games.
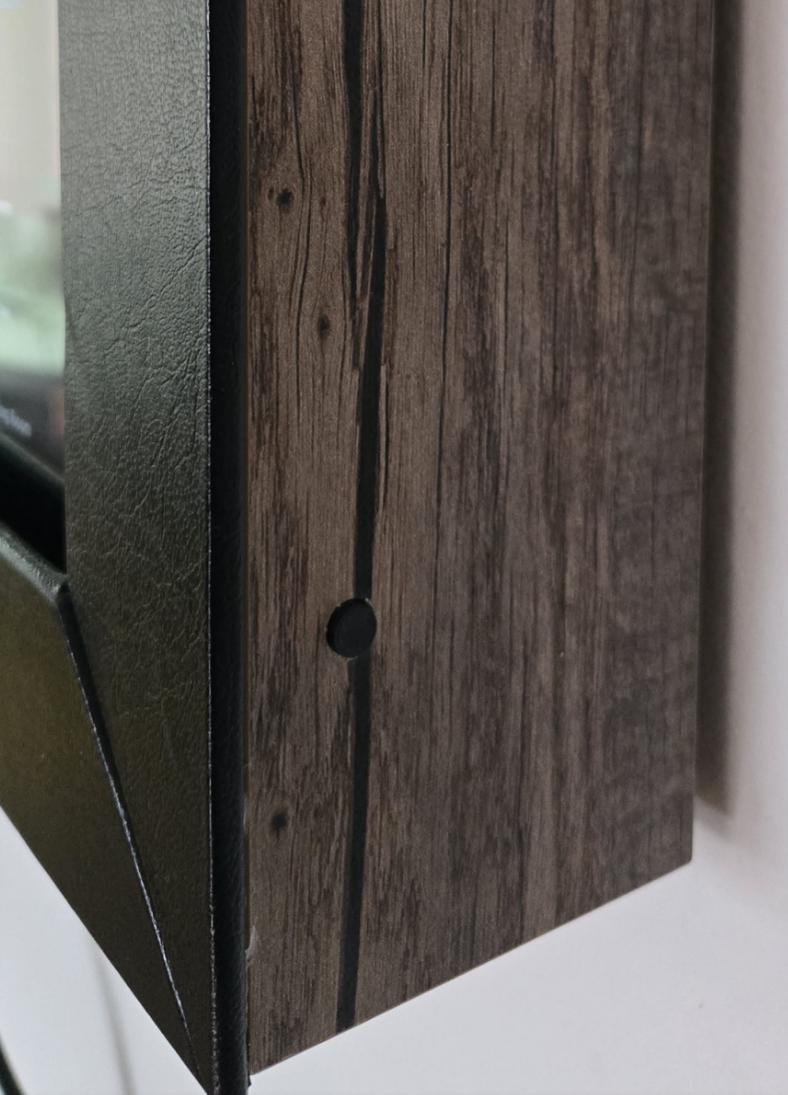
- USB ports for external controllers - Drilled really crappy hole, fixed it up with a 3D print made in Fusion360 so it looks better.
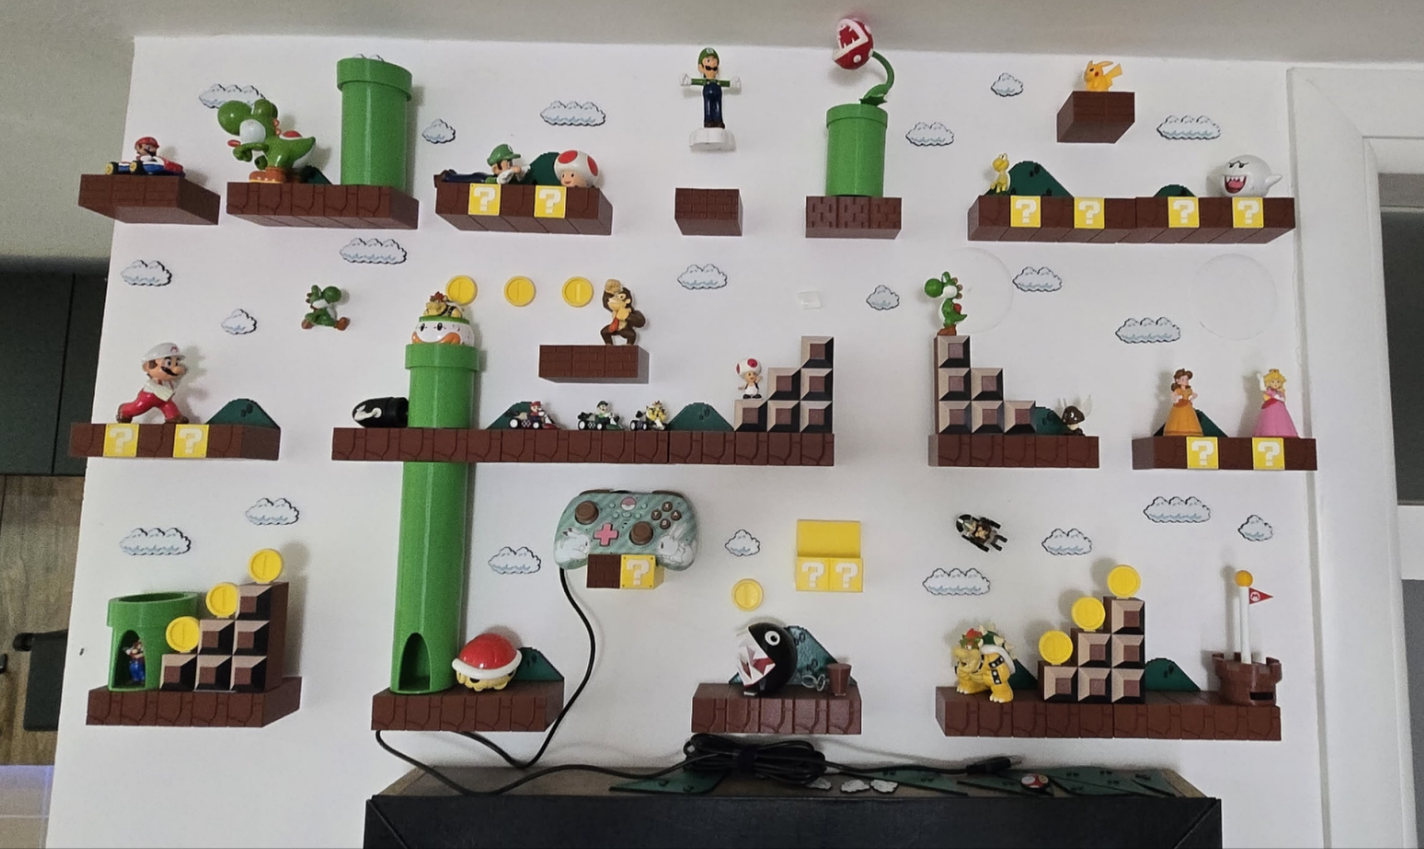
3D printer go brrr - I found some awesome models, exactly what I had in mind:
Super Mario blocks - The core of the Super Mario wall. The designer did an amazing job!
Super Mario decoration - Since I didn't want to paint the wall, this came in perfect for hills and clouds.
Raspberry Pi 5 case - This one seemed most pretty for me so I went with it.
- USB ports for external controllers - Drilled really crappy hole, fixed it up with a 3D print made in Fusion360 so it looks better.
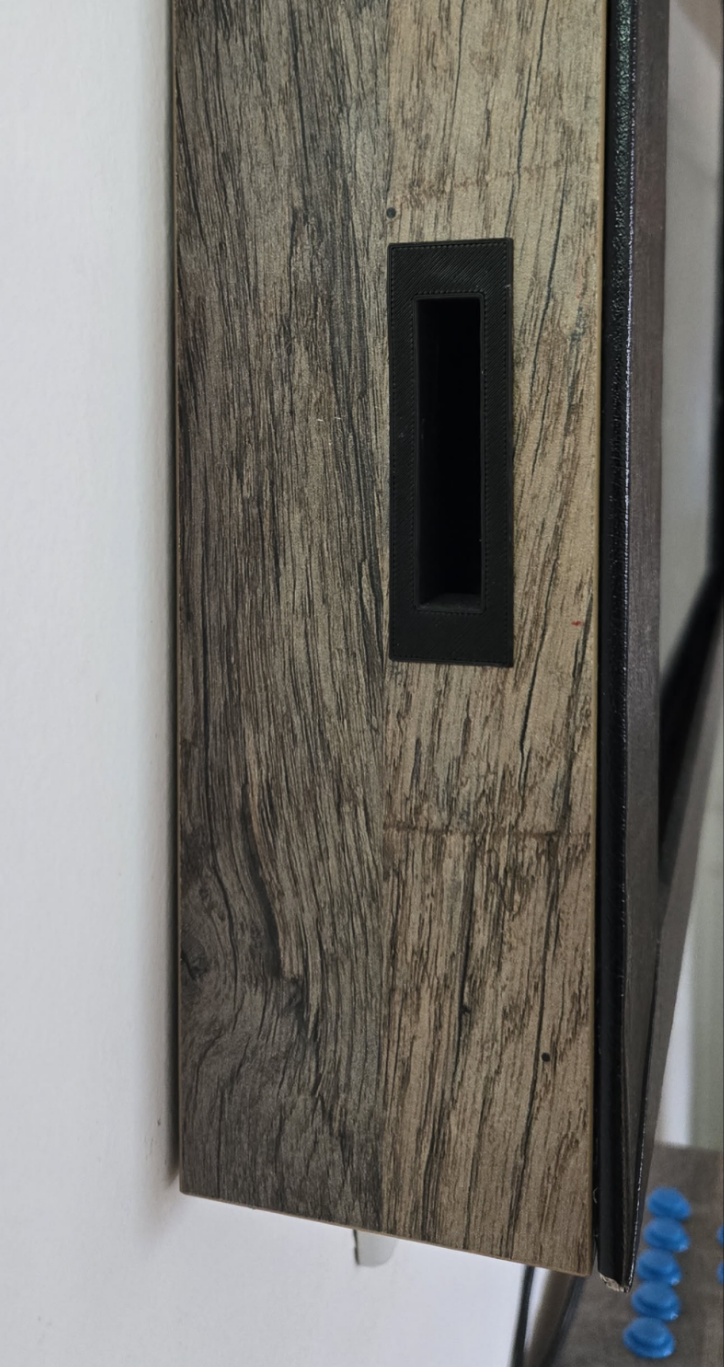
- Power button for the screen - Did a quick design in Fusion360 and drilled a hole, works like a charm!
- Folding bar stools - While I do like standing while playing it's a nice alternative for longer playtime and it folds and fit's perfectly in the storage room.
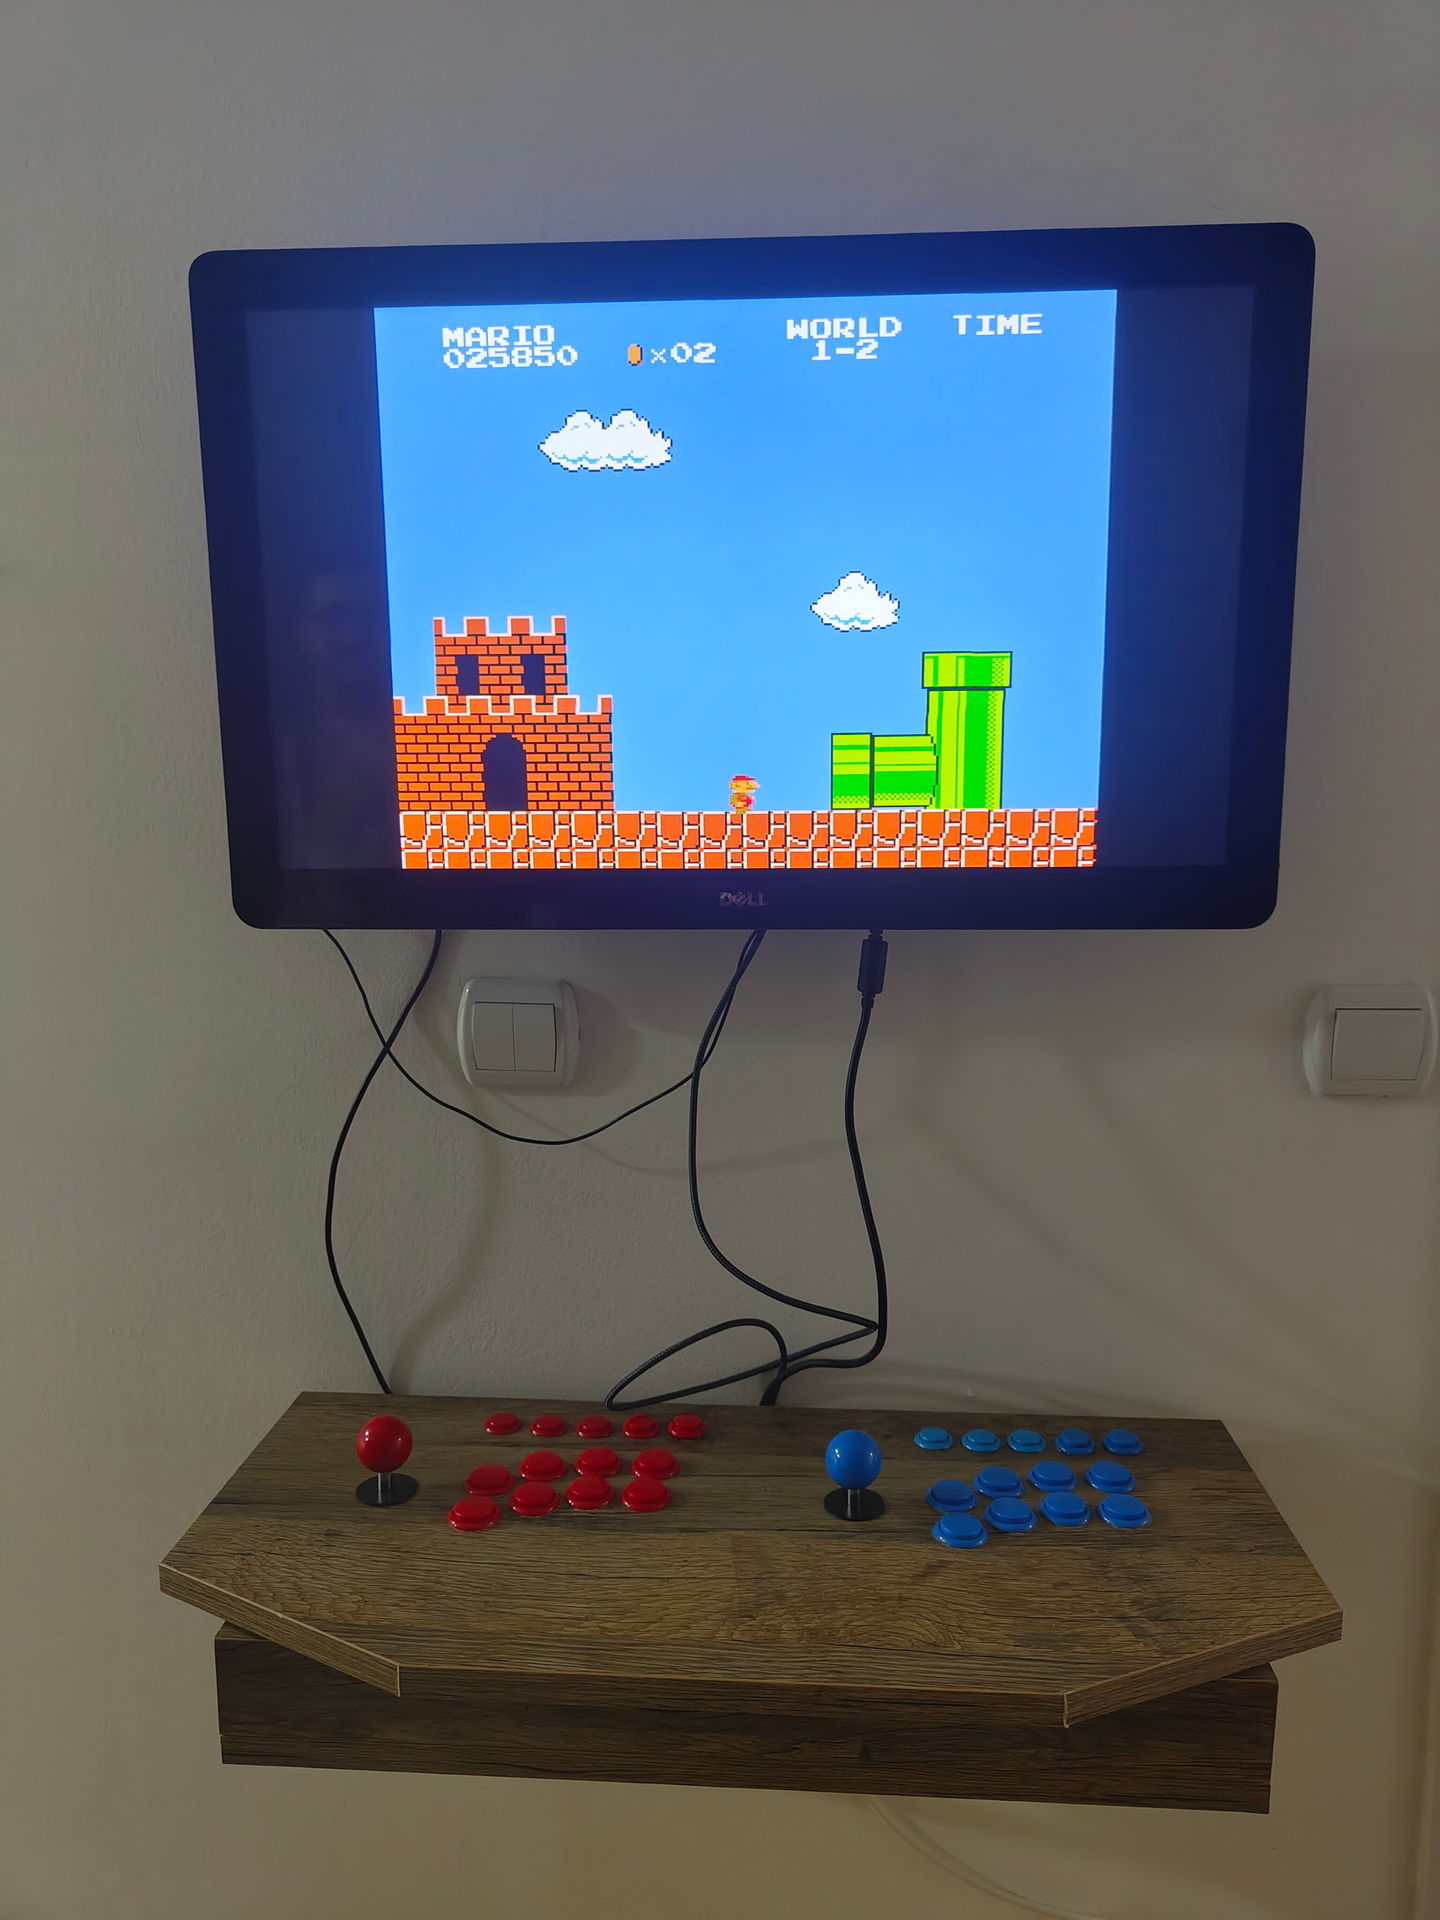
The Final Product
So… here it is:
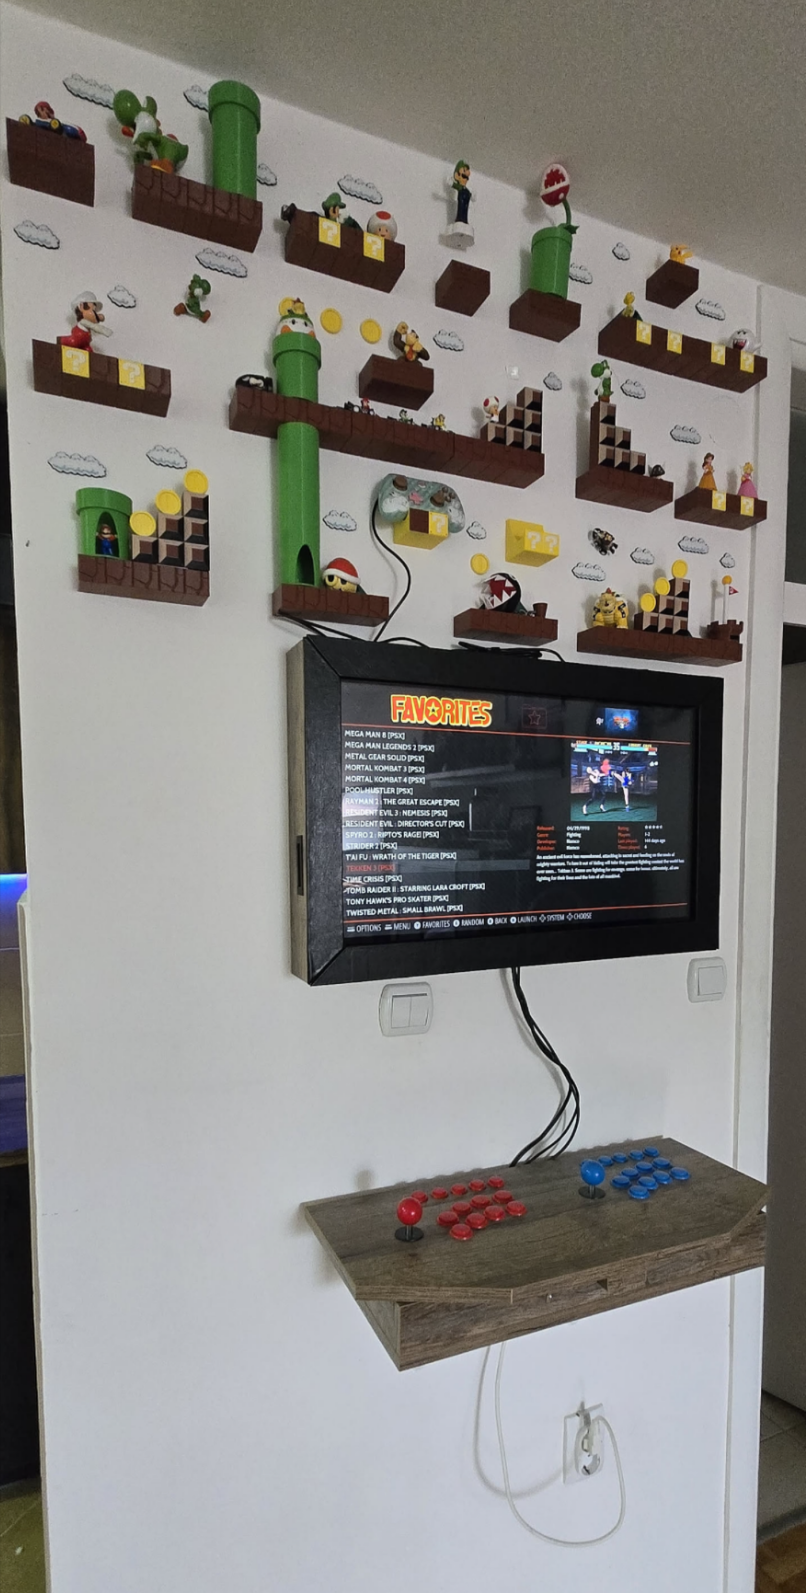
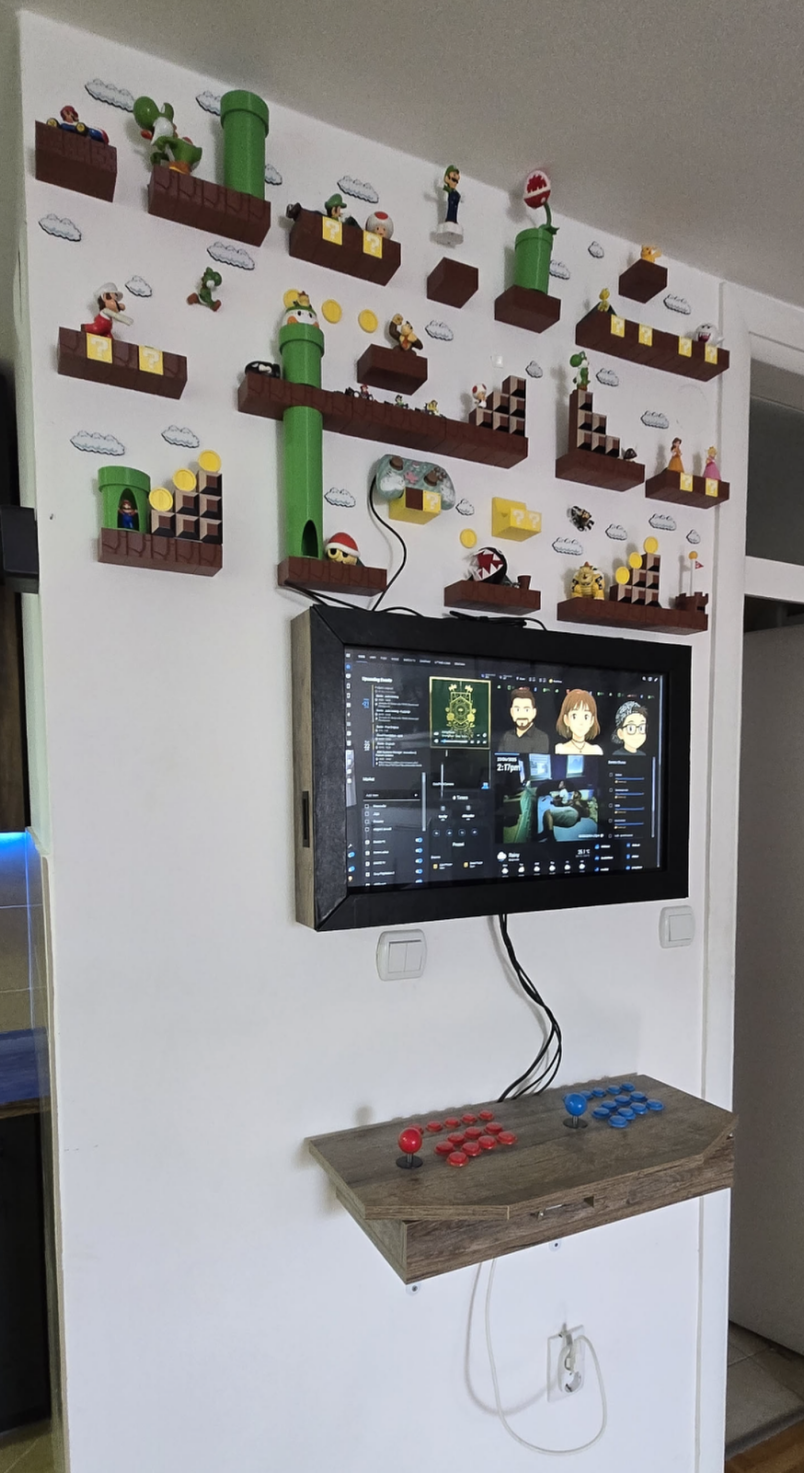
- Features:
- RetroPie with Emulation Station
- Supports up to PS2 gen games
- 2 player arcade + more with external controllers
- Still usable as a Home Assistant dashboard
- Final cost: Under 600€
- Lessons learned:
- Woodworking is hard but fun!
- Wear protective gear (gloves, glasses, etc.) - Yes I learned it the hard way… again…
- Embrace the imperfection
- Cost can be at least half of what it was, but I really went all out
Looking Back
While I probably won't be pulling long hours playing Tekken like I did in that Budva arcade, there's something deeply satisfying about having this piece of my childhood dreams standing in my home. It's more than just a gaming machine – it's a conversation piece, a testament to DIY spirit, and a portal to those carefree summer days.
It's also awesome when having friends over for a cup of coffee and a quick bash!
Bill of materials
Here's the full list of materials and cost (so you know what you're getting yourself into):
- Wood (+ cutting, banding, etc) ~ 100€
- Raspberry Pi 5 8GB with fan and power supply - 150€
- Dragonrise controllers set - 30€
- 3d print fillament (decorations,usb, power button, holder for rpi) ~ 50€
- Folding shelf brackets - 8€
- Lock mechanism - 3€
- Wood foil - 5€
- Dell monitor (used) - 100€
- 512GB NVMe (used) - 20€
- External NVMe case - 20€
- Genius USB-powered 2.0 speakers - 15€
- Folding bar stools - 70€
- Screws, tape, glue, etc - 10€
Total amount: 581 €
Honorable mentions
A big thank you to Neven who helped me with the wood schematics and Cvijo for helping me assemble the screen part! <3
